Lightweight Down Jacket,Light Puffer Jacket,Lightweight Puffer Coat,Lightweight Down Coat TUSCANY , http://www.tuscanygarments.com
exposed zippers on welt pockets
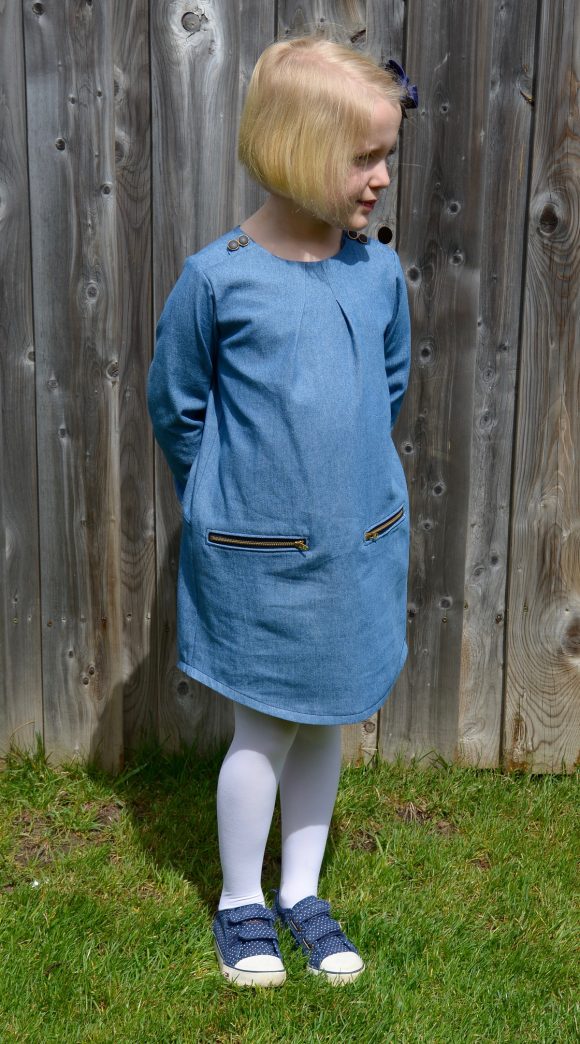
Welcome Deb back to the blog! She's been a regular contributor, sharing her favorite patterns, experiences from her Flat S visit, and even hosting a day during the School Days Jacket sew-along. Today, she’s here to talk about the Book Report Dress and how to add exposed zippers to welt pockets. Thank you, Deb!
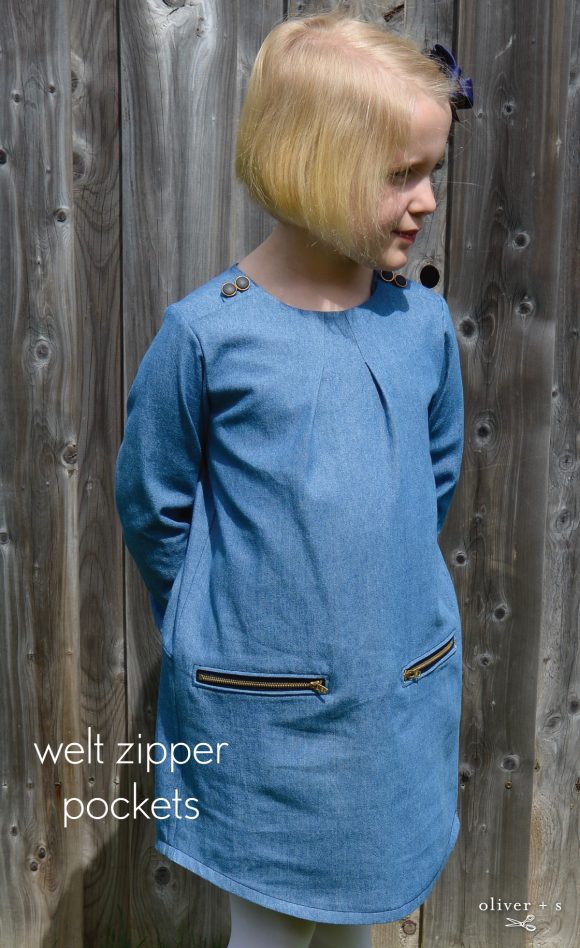
The Book Report Dress offers plenty of room for creative modifications, and adding exposed zippers to welt pockets is a fantastic way to personalize it.
Before diving in, I highly recommend practicing this technique on scraps of fabric first. This helps ensure the zipper "peep hole" exposes just the right amount of zipper tape. Instead of using an actual zipper, you can use grosgrain ribbon or a contrasting scrap with zipper teeth drawn on it to match the size of your intended zipper.
For context, I learned measurements in school using Imperial units, but later had to adapt to Metric standards as an adult. A half-inch equals 1.25 cm, though the exact conversion is 1.27 cm. Similarly, the 5-inch zippers I buy are labeled as 12 cm but are actually 12.7 cm. Just thought you'd want to know!
When I first attempted exposed zippers on this pattern, I made several mistakes. One major error was treating the dress front and shirt front as separate pieces, as instructed in the pattern. This resulted in unnecessary seam allowances, fraying, and bulk—especially problematic with thicker fabrics. My preferred method involves layering the traced front pattern pieces (#2 and #5) over each other along the seam allowances to create one seamless dress front. Don't forget to transfer any dots or marks from both pieces.
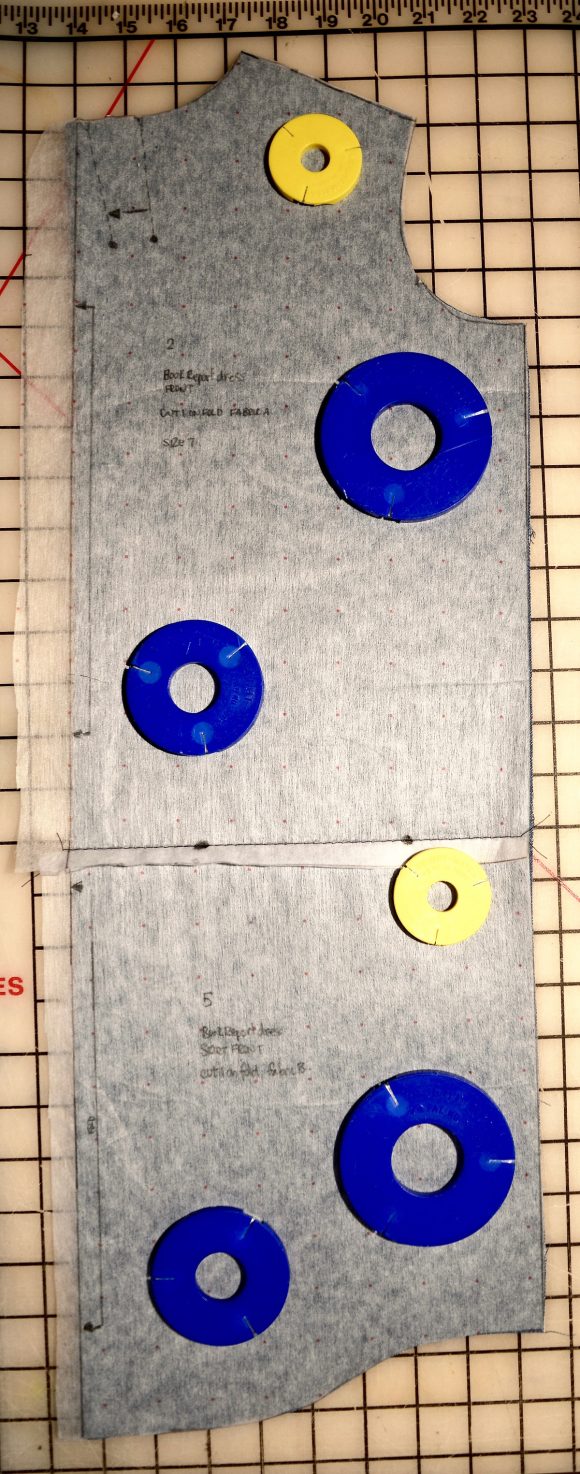
If you're using a fabric-like tracing medium, you can stitch the two pieces together for an accurate final shape.
Next, cut the dress fabric, open it up, and draw a line along the "skirt line"—the imaginary seam where the two pieces would have met. Clip the edges near the skirt line for easier assembly later.
Now it’s time to measure for zipper placement. Mark the dots from the traced piece onto the dress front—these will serve as "inner" marks. Lay the zippers below these marks and adjust them until they’re symmetrical. Mark new "outer" marks along the skirt line indicating where the zipper stops begin and end. For my 5-inch zippers, I positioned them so the zipper stopper end was ½ inch (1.25 cm) away from the inner mark and the pull tab end was 1 inch (2.5 cm) away from the other inner mark. Feel free to adjust the spacing slightly based on your preference.
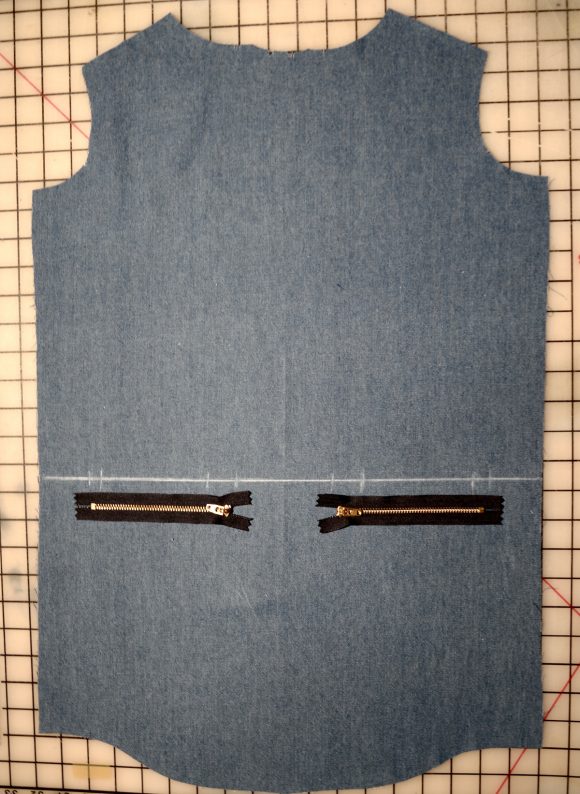
If your zippers have open ends, like the longer silver-toothed ones shown in the photo, hand-stitch the ends together. This keeps the tape ends close for easier alignment later.
Once the zipper placement is set, cut two pieces of interfacing and iron them onto the wrong side of the fabric along the skirt line.
The next step is cutting the pocket bags. I used two pieces of fabric roughly 7¼ inches by 10 inches (18 cm by 25 cm). You can adjust the size later, but start with these dimensions. Transfer the zipper placement marks from the dress front to the wrong side of the pocket pieces, staggering them over the skirt line. Here's how:
Cut two pocket pieces from your tracing medium, lay them on the dress front, and use the skirt line as a guide. Position the top of the pocket about 6 inches (15 cm) above the skirt line and the bottom less so. Trace the marks from the dress front onto the tracing medium. Then transfer the outer marks and the skirt line to the actual pocket fabric.
Lay the pocket pieces (right sides together) on the dress front, aligning them along the skirt line marks. Peek under the pockets to confirm the outer marks align properly. Use pins to secure everything in place.
Draw four vertical ½-inch (1.25 cm) lines on the outer marks with washable marker. Connect the tops and bottoms of these lines with a horizontal line, then draw a ¼-inch (6 mm) line above and below the middle line. You’ll now have two long rectangular boxes with a dividing line in the middle and a “V†at the end.
Stitch around the outer edges of the rectangles, counting your stitches to keep them consistent across all boxes.
Carefully cut along the middle line and clip up to the "V" without cutting through the stitches. Pull the pocket fabric through the opening, flatten it to the wrong side, and press.
Stitch the triangle (or "V") at the pocket corners as close to the edge as possible. Press again to ensure everything lies flat.
Now it’s time to insert the zippers. I prefer using fabric glue or sticky tape to hold them in place temporarily. Apply the adhesive to the wrong side of the pocket opening rather than the zipper tape itself, making it easier to manipulate. If you don’t have tape, use pins instead.
Fiddle with the zippers so the tape exposure looks just right. Below is a photo showing the wrong side of the dress, with one pocket’s zipper secured with glue tape and the other pinned in place.
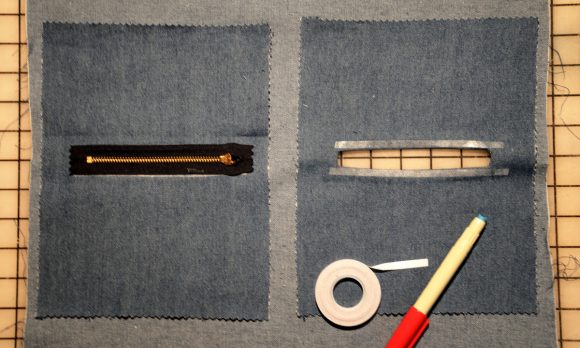
The zipper should now be securely in place and ready to be stitched around.
Use two threads through the needle and stitch all around the zipper. Finally, turn the dress to the wrong side, fold the pocket halves together, trim excess fabric if needed, and press. Stitch around three sides of the pocket, avoiding the dress front.
Voilà ! Your dress is now complete with exposed zippers.
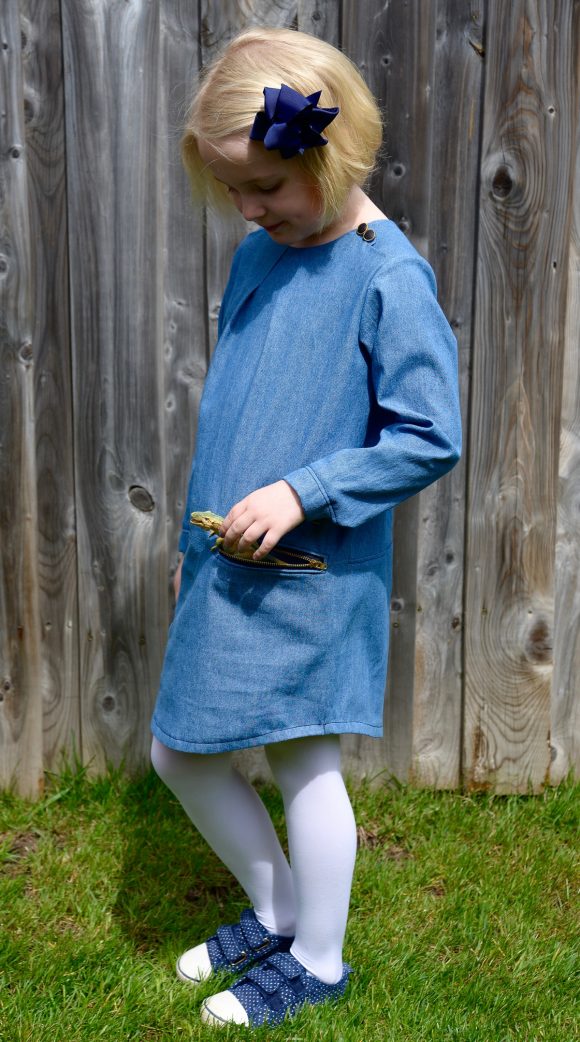
And the pockets? Perfect spots to hide your dinosaur and zip it shut so your brother can’t get to it.
I hope this tutorial helps you create a unique Book Report Dress. If you have any questions or tips of your own, feel free to share!
*Note: This article contains affiliate links. Purchases made via these links may earn a small commission at no extra cost to you.*
And there you have it—your very own Book Report Dress with exposed zipper welt pockets! Enjoy the process and let me know how it turns out.